Application Note
Matlab Control of the DS8R Stimulator
Introduction
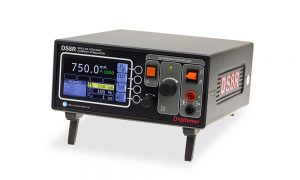
One of the most important features of the new Digitimer DS8R Research Stimulator, is its ability to be controlled by external hardware and software. Such control allows for pre-programmed, automated changes in stimulation parameters and opens up opportunities for “closed-loop feedback” control of stimulation, for instance in response to nerve or EMG signals, which might be important in applications such as functional electrical stimulation (FES) and rehabilitation.
The Digitimer DS8R Stimulator incorporates a Windows compatible advanced programmers interface (API) which enables third party control of the stimulator via Matlab, Python and other software packages. Here we provide basic instructions for implementing Matlab control and include a sample program that provides a basic demonstration of this extremely useful capability.
 Hardware & Software Requirements
- DS8R Stimulator.
- USB cable (supplied with DS8R).
- Personal Computer running 32bit or 64bit version of Windows 10.
- Digitimer DS8R Virtual Front Panel Software Installer (supplied with DS8R).
- Digitimer DS8R Matlab Solution ZIP file, including the DS8R Proxy DLL installer.
- Base Matlab package, including a third-party compiler.
Installation Process
- Download, install and run the DS8R Virtual Front Panel Software.
- Connect the DS8R to the PC via the USB cable. Power ON the DS8R and verify that the DS8R Virtual Front Panel Software is able to control the DS8R settings.
- Download and extract the Digitimer Matlab Solution ZIP file.
- Locate and run D128RProxyv2.exe from within the DS8R Proxy DLL Installer subfolder of the ZIP file contents. This installs the DS8R Proxy DLL into the correct system folder for Windows 32bit and Windows 64bit installations.
- Copy the remaining three files (see below) to your chosen working directory for Matlab projects.
Demonstrating Matlab Control
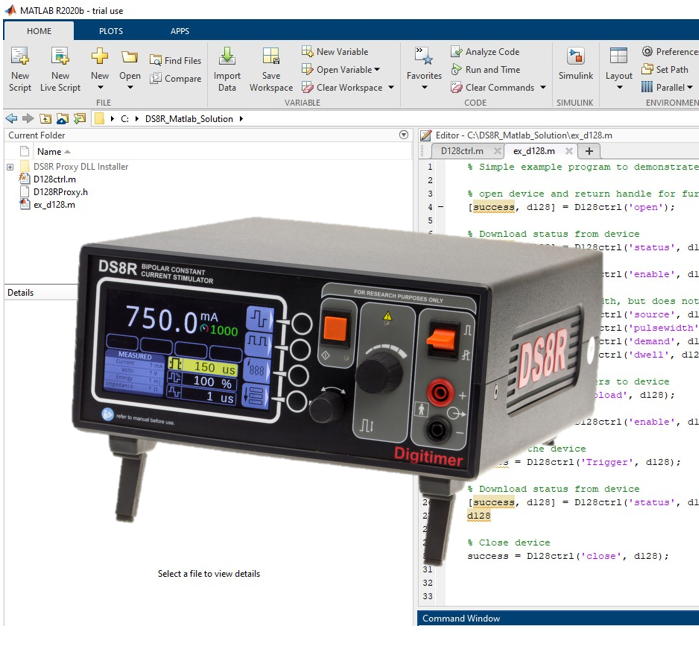
Run the Matlab application and open the working folder containing the three downloaded files:-
D128ctrl.m & D128RProxy.h
Together these two files create a Matlab interface to Digitimer DS8R devices which provides an easy-to-use method for loading and calling functions in the previously installed DS8R Proxy DLL.
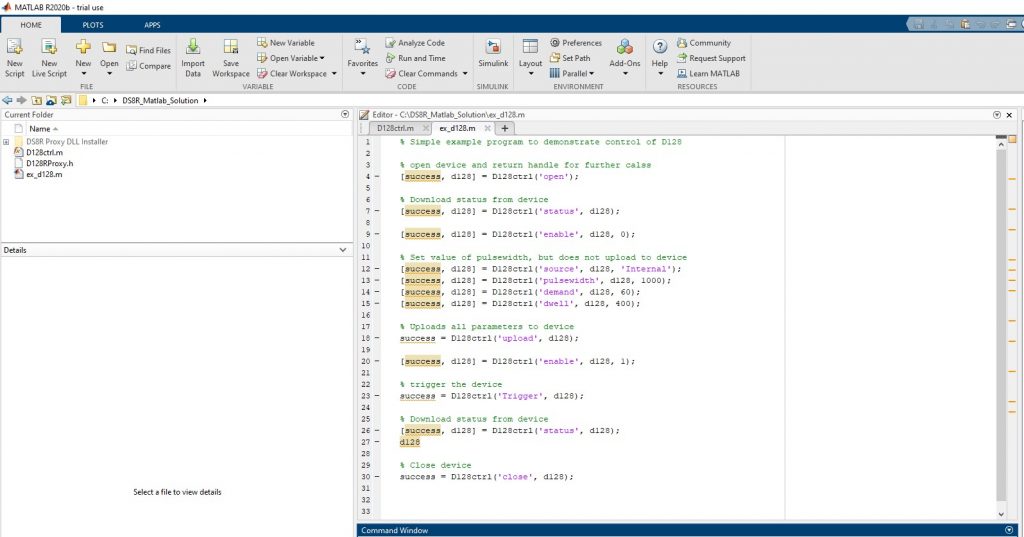
Ex_D128.m
This simple example program demonstrates control of the DS8R.
% Simple example program to demonstrate control of D128

% open device and return handle for further calss
[success, d128] = D128ctrl('open');

% Download status from device
[success, d128] = D128ctrl('status', d128);

[success, d128] = D128ctrl('enable', d128, 0);

% Set value of pulsewidth, but does not upload to device
[success, d128] = D128ctrl('source', d128, 'Internal');
[success, d128] = D128ctrl('pulsewidth', d128, 1000);
[success, d128] = D128ctrl('demand', d128, 60);
[success, d128] = D128ctrl('dwell', d128, 400);

% Uploads all parameters to device
success = D128ctrl('upload', d128);

[success, d128] = D128ctrl('enable', d128, 1);

% trigger the device
success = D128ctrl('Trigger', d128);

% Download status from device
[success, d128] = D128ctrl('status', d128);
d128

% Close device
success = D128ctrl('close', d128);
By running the “ex_d128.m” sample program, the settings below are applied to the DS8R.
- Pulse Duration 1000µs
- Current Amplitude 60mA
- Interphase Interval 500µs
The program then enables the DS8R output and triggers delivery of a single stimulus pulse.
Limitatons
The DS8R API allows for a maximum trigger frequency of 10Hz. For applications that require higher frequencies, the DS8R has a dedicated hardware TTL compatible trigger input.
Triggering and parameter changes made over USB may suffer from some timing variability as the PC operating system may prioritise other activities over USB data transfer.
Acknowledgements
We gratefully acknowledge the assistance provided by John Kakareka, Troy Dildine & Qingbao Yu (National Institutes of Health, USA), who collaborated with Digitimer over the development of this Matlab control interface.


